New Custom PC Build – The Stormtrooper
Posted in My Thoughts on 16th May 2014
Just like all famous swords are named – all great PCs should be named too. When the case arrived and I showed Helen she instantly said it looks like a Stormtrooper and so it will ever be know as the Stormtrooper. Now for the birth of the Stormtrooper.
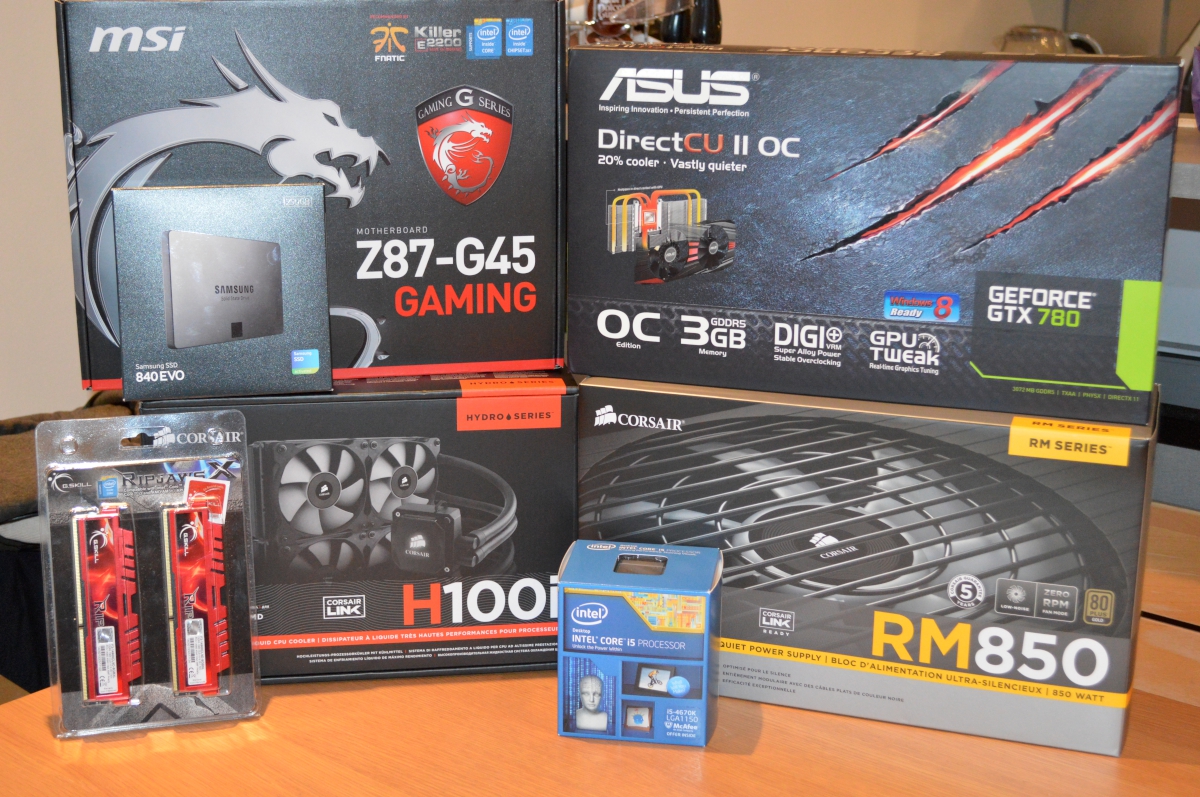
I ordered all of my parts though Amazon Prime (the free trial but I think it is certainly worth it!); regrettably I didn’t realise one of the parts I ordered was coming from Germany and took an extra two days to come which was sad. The build consisted of the following parts:
- CPU: Intel Core i5-4670K 3.4GHz Quad-Core Processor
- CPU Cooler: Corsair H100i 77.0 CFM Liquid CPU Cooler
- Motherboard: MSI Z87-G45 Gaming ATX LGA1150 Motherboard
- Memory: G.Skill Ripjaws X Series 8GB (2 x 4GB) DDR3-1866 Memory
- Storage: Samsung 840 EVO 250GB 2.5″ Solid State Disk
- Storage: Seagate Barracuda 1TB 3.5″ 7200RPM Internal Hard Drive
- Video Card: Asus GeForce GTX 780 3GB DirectCU II Video Card
- Case: Corsair 600T White Graphite ATX Mid Tower Case
- Power Supply: Corsair RM 850W 80+ Gold Certified Fully-Modular ATX Power Supply
- Optical Drive: Asus DRW-24F1ST DVD/CD Writer
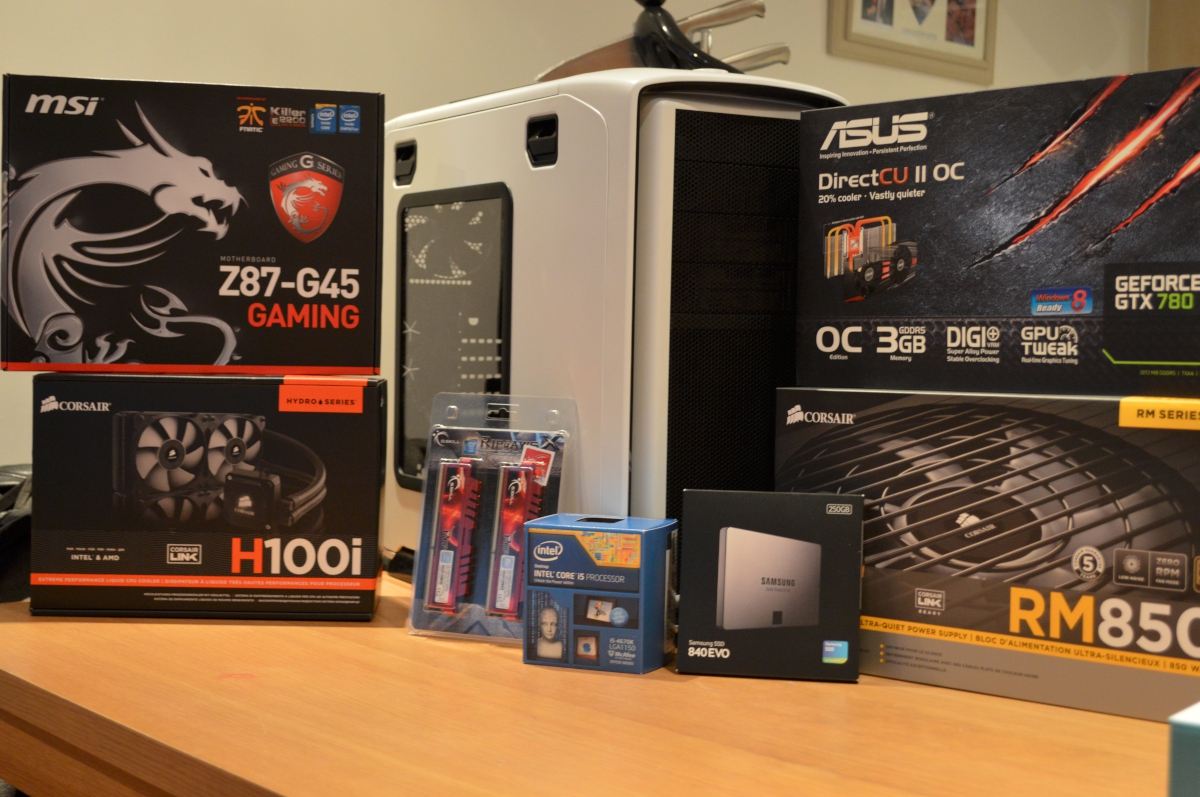
I chose to go for a white and red theme this time around since my first was slick black and blue.
Prep
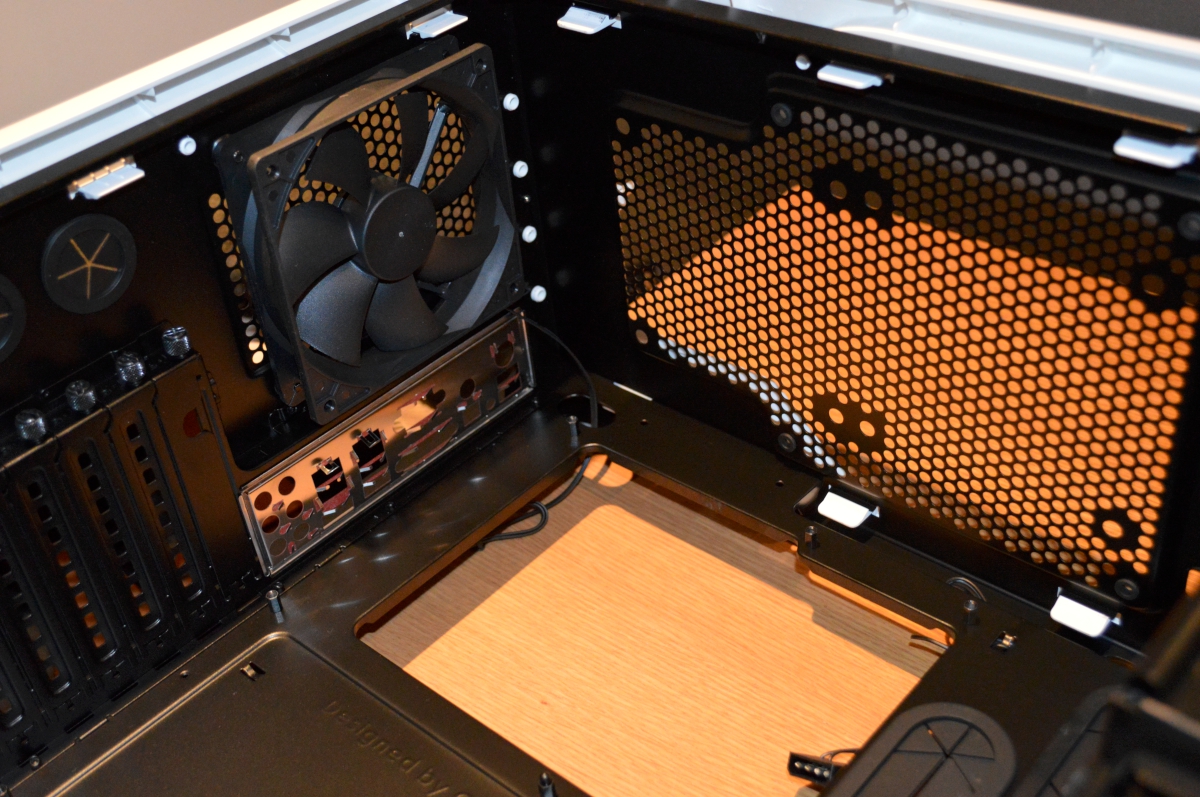
The first step in all DIY jobs is the preparation also know as “getting yo shit together”. Preparation in terms of building the PC consists of getting your manly tool box and opening all the boxes. Once set up I got the case ready for the first component – tidying up the wires and putting the motherboard backplate on.
Motherboard
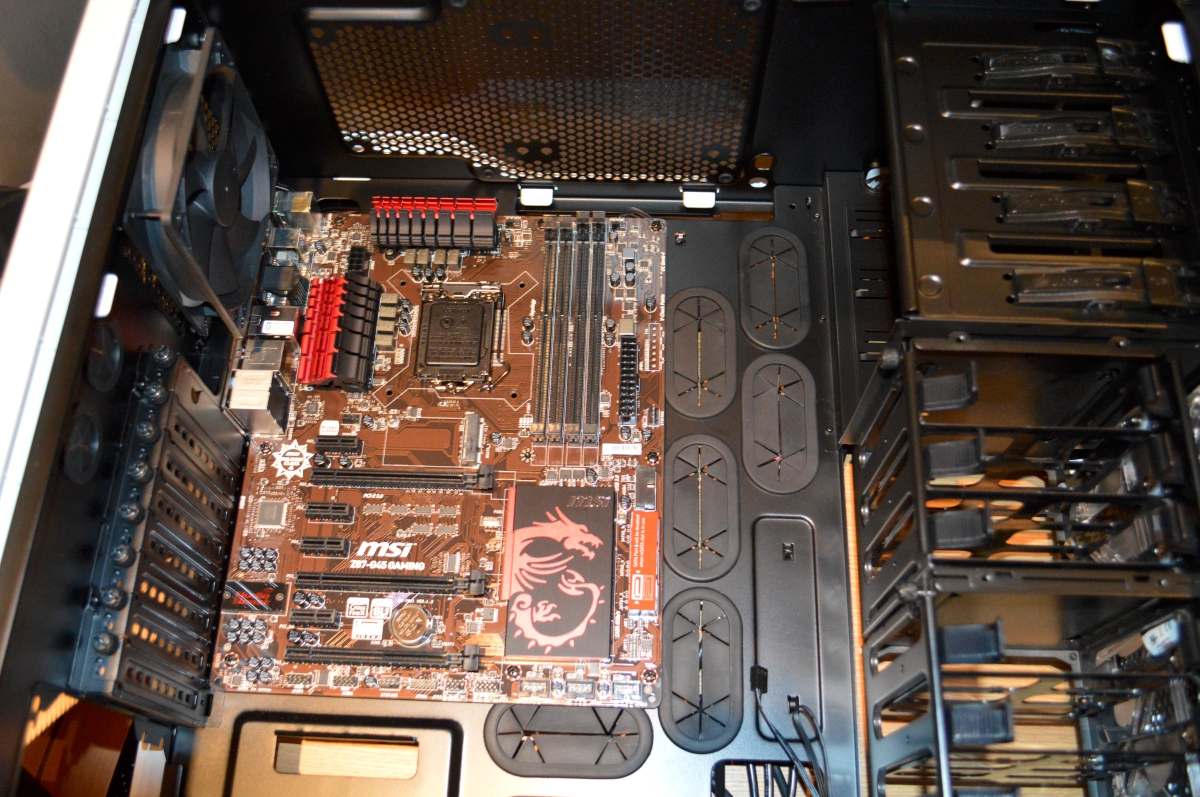
The reason I couldn’t do anything until the motherboard arrived is because its the first thing to go in and everything connects/plugs into it. By this time I have already fallen in love this case as it makes it so easy. The case comes with the raisers already there (something my last one didn’t) and also the massive rear access hole disapproving look to have easy access to the motherboard.
Storage
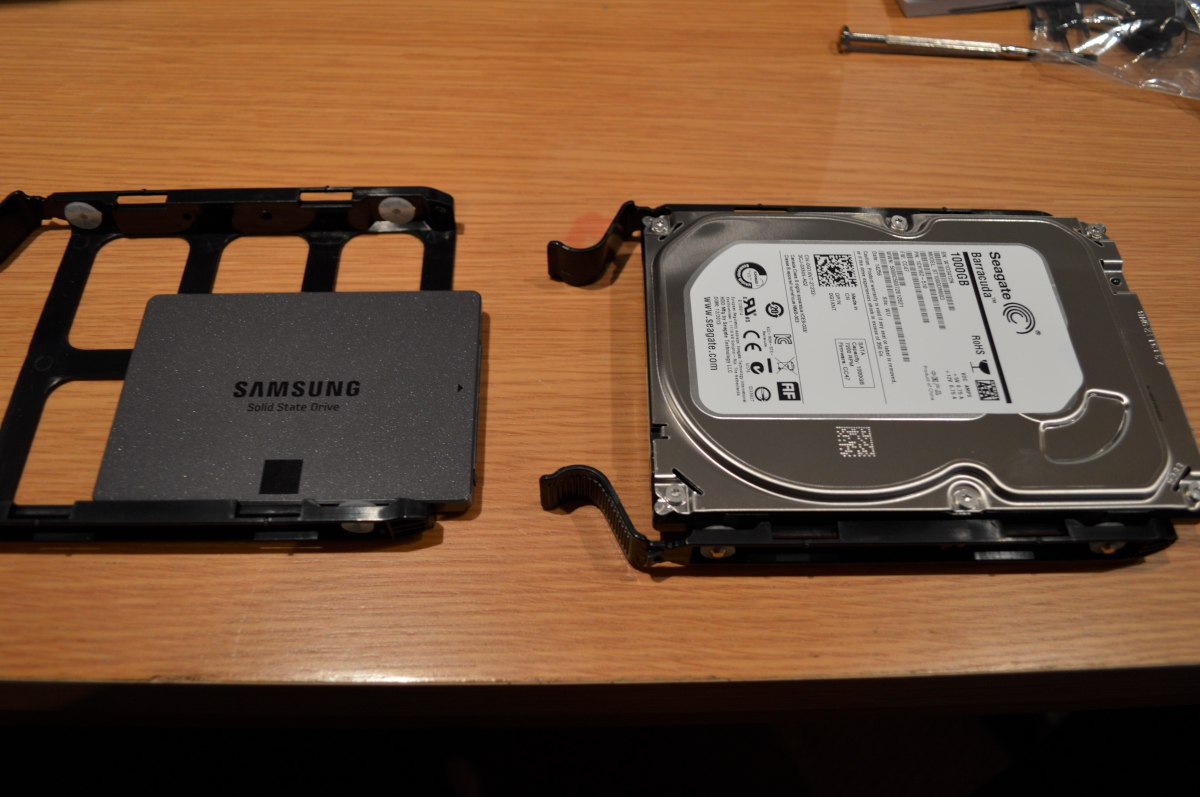
Installing the storage into the case was the one thing I could have done before the motherboard made it’s appearance but I decided just to do it all in one go. Left we have the 240GB SSD (Solid State Drive) and right we have the 1TB HDD(Hard Disk Drive). To elaborate why I have two, the SSD is extremely fast but is new technology and therefore more expensive per GB. The HDD is a bog standard drive. The reason for having two different storage devices is to have the best of both worlds. The SSD is very fast so applications and the operating system are saved to it so they will load quickly. The HDD is used as a storage slave basically where you would save photos, videos and music.
Brain Surgery
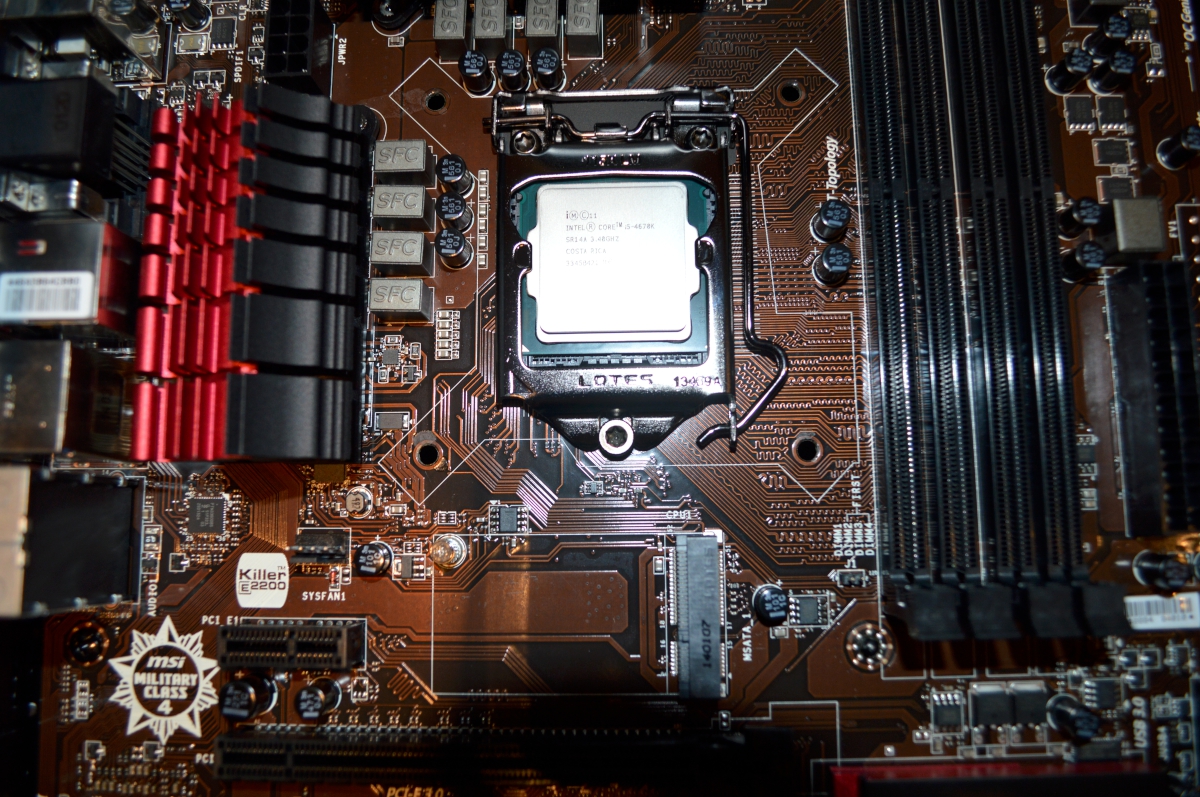
Just like the human brain, the computers processor is very delicate and one must handle with care. That said, I totally forgot how much force you need to put when securing it into its little home! The metal leaver to the right locks the processor down like a clamp.. honestly I thought I had done something wrong the amount of force needed to get it locked into position!
The Juice
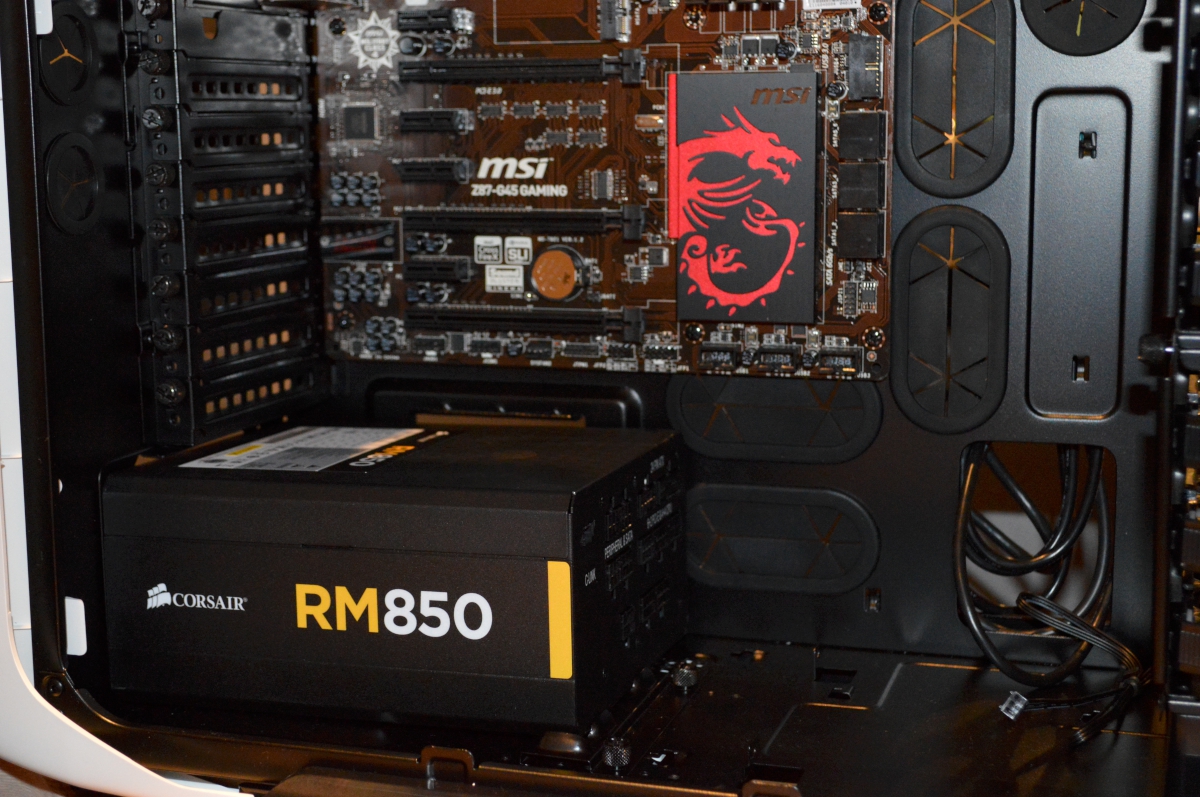
Nice and easy jobby – get the power supply in the bottom of the case. There are two reasons why this was easy. Firstly, I made a conscious decision to get a large case. Secondly I decided to invest in a modular power supply which is nerd speak for one where you choose what wires to use, they aren’t all attached and the ones you don’t use don’t have to be hidden away and just take up room.
Water is the new air
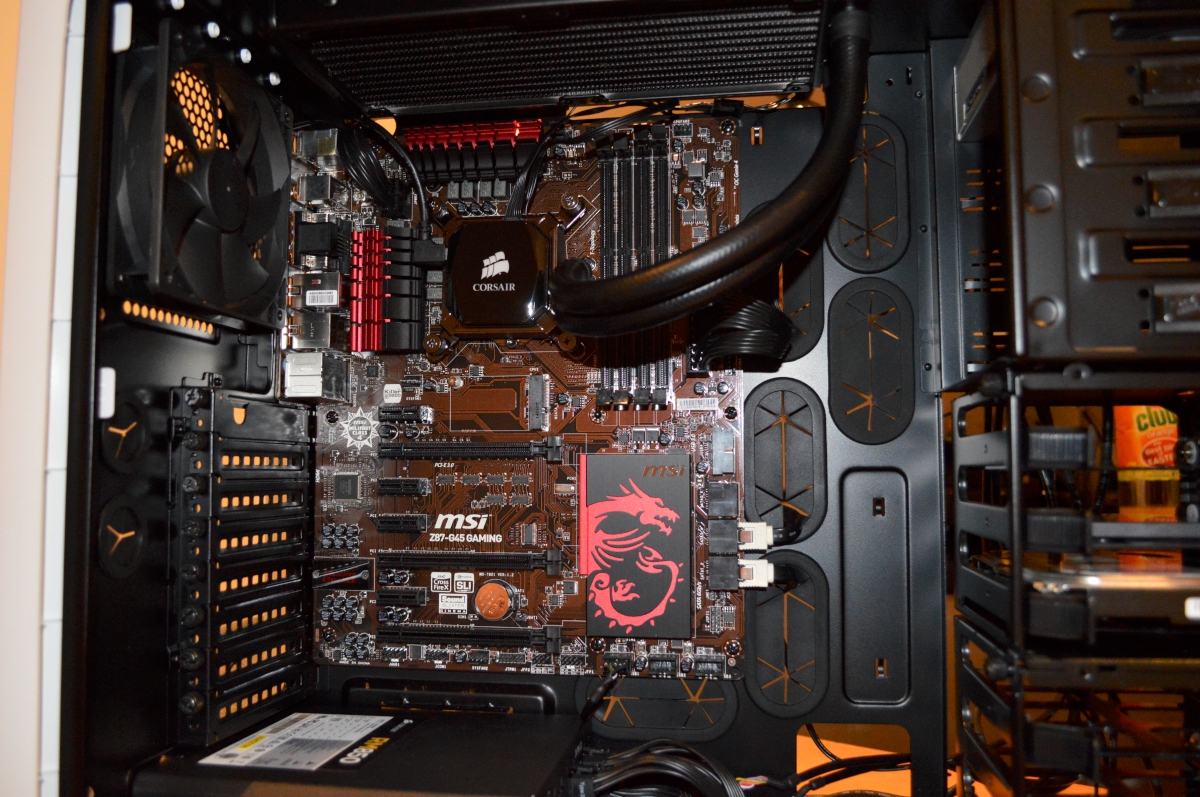 Building a PC is a long term investment so I decided to not cut any corners this time around. One of my little splurges was getting a water cooler for the CPU this brings a massive advantage as it is much more efficient at cooling than a standard cooler. I also really liked the idea of getting the water cooler because it takes much less space in the case than an after market heat-sink and is therefore much more aesthetically pleasing when looking into the case. This was very hard to get in… especially the first time round when I used the wrong screws!!
Pretty Pictures
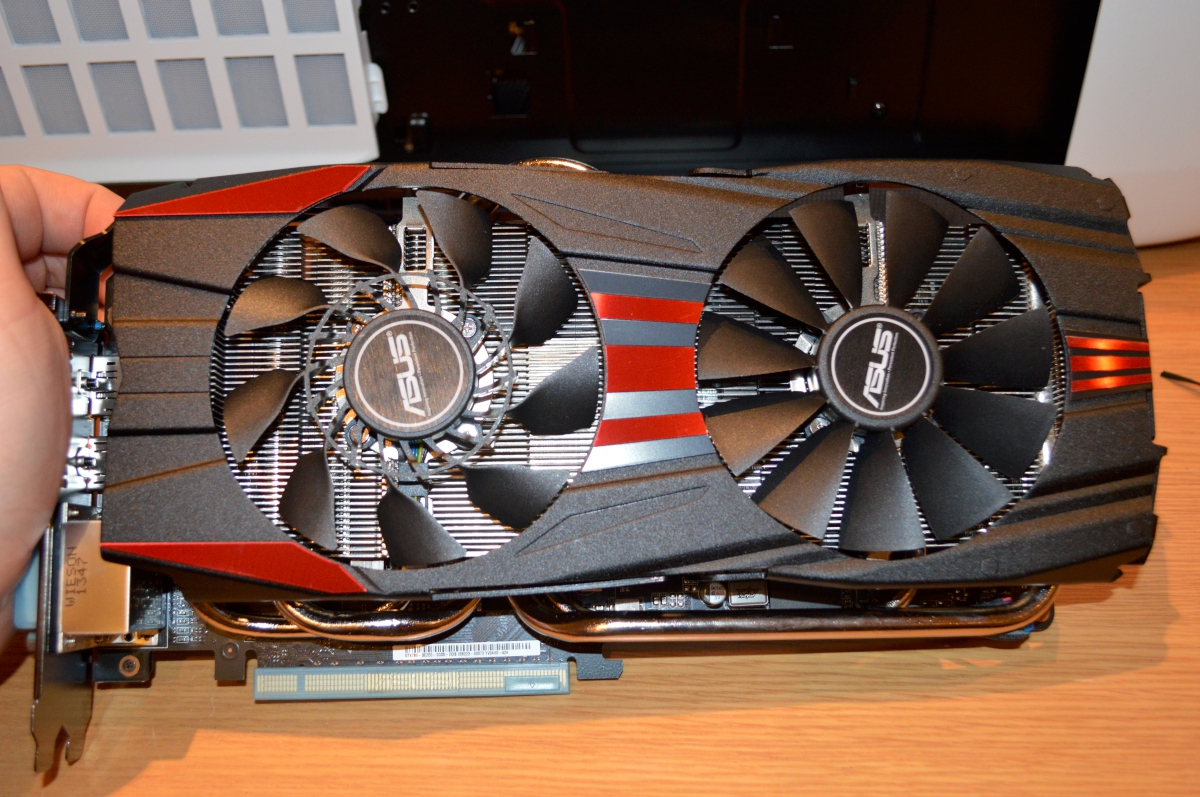 Being a third of the total cost shows the importance of the graphics card. This is the first time I have a high-end graphics card and wow it was much bigger and heavier than I first thought. Another simple component to install. Pop it into the motherboard and plugin the power cables to it.
Nerdgasm
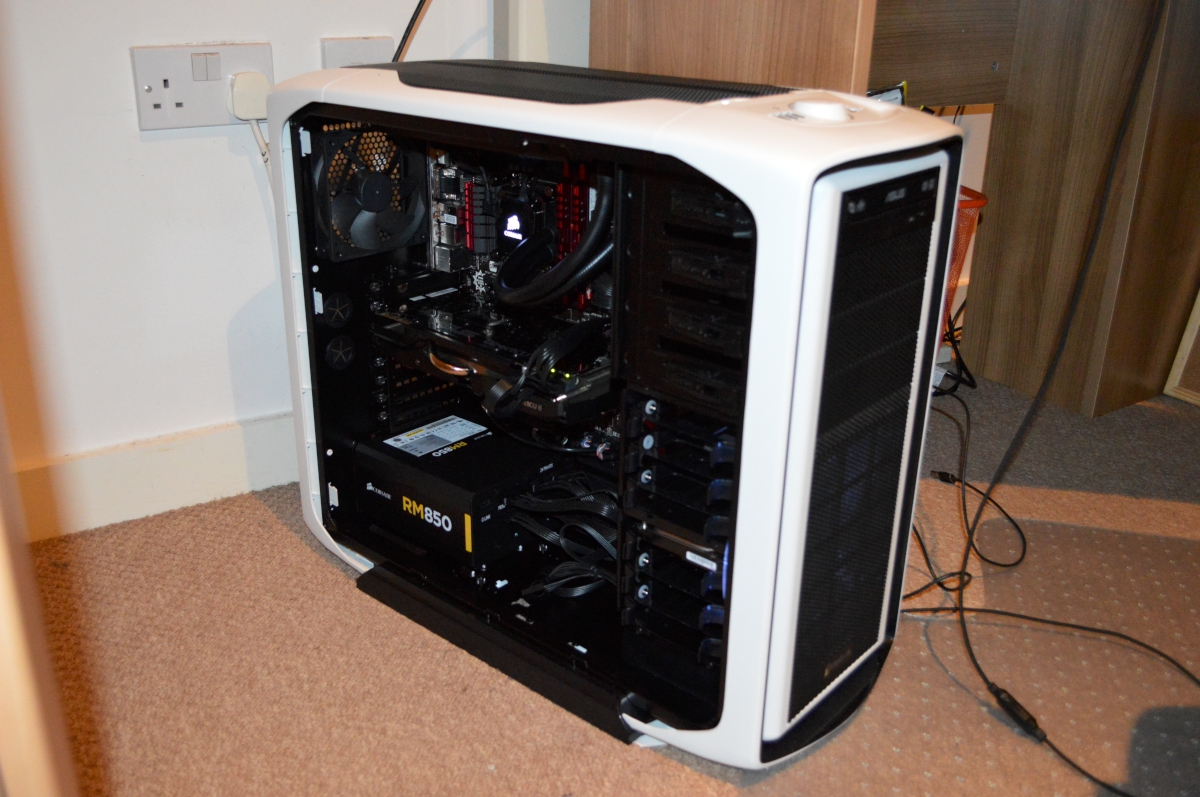
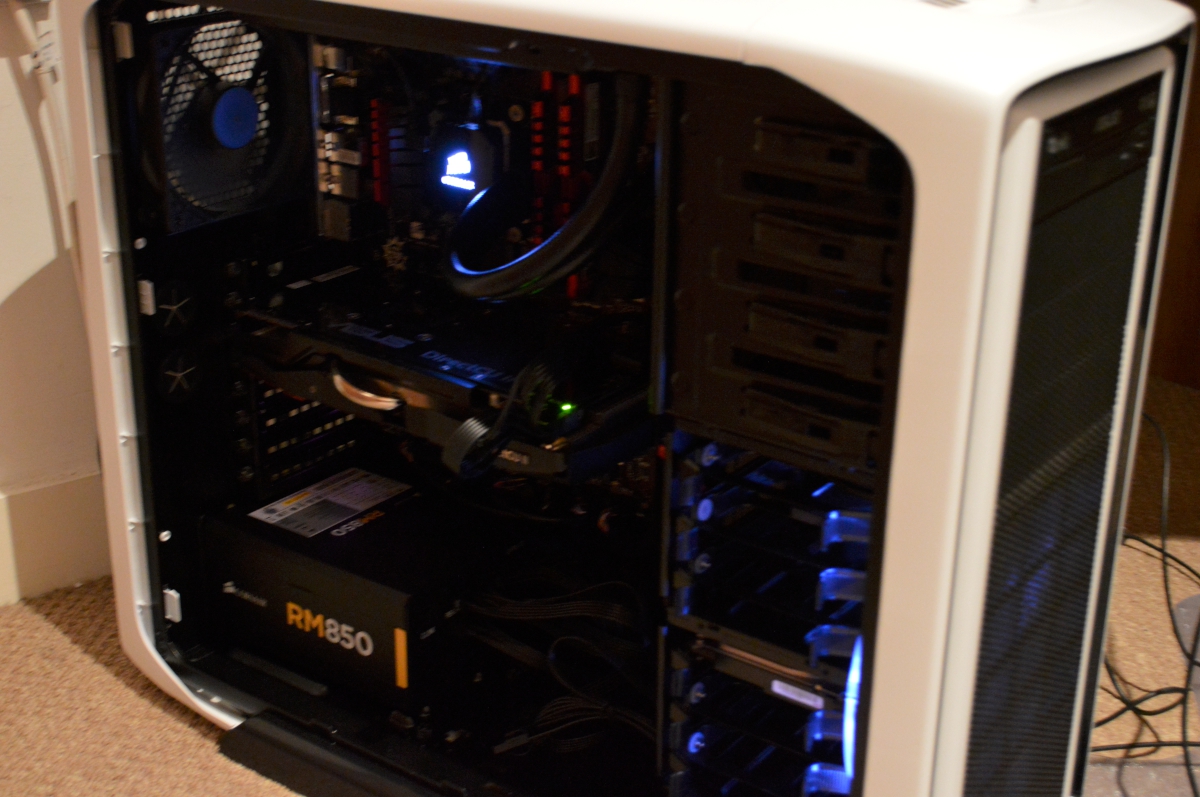
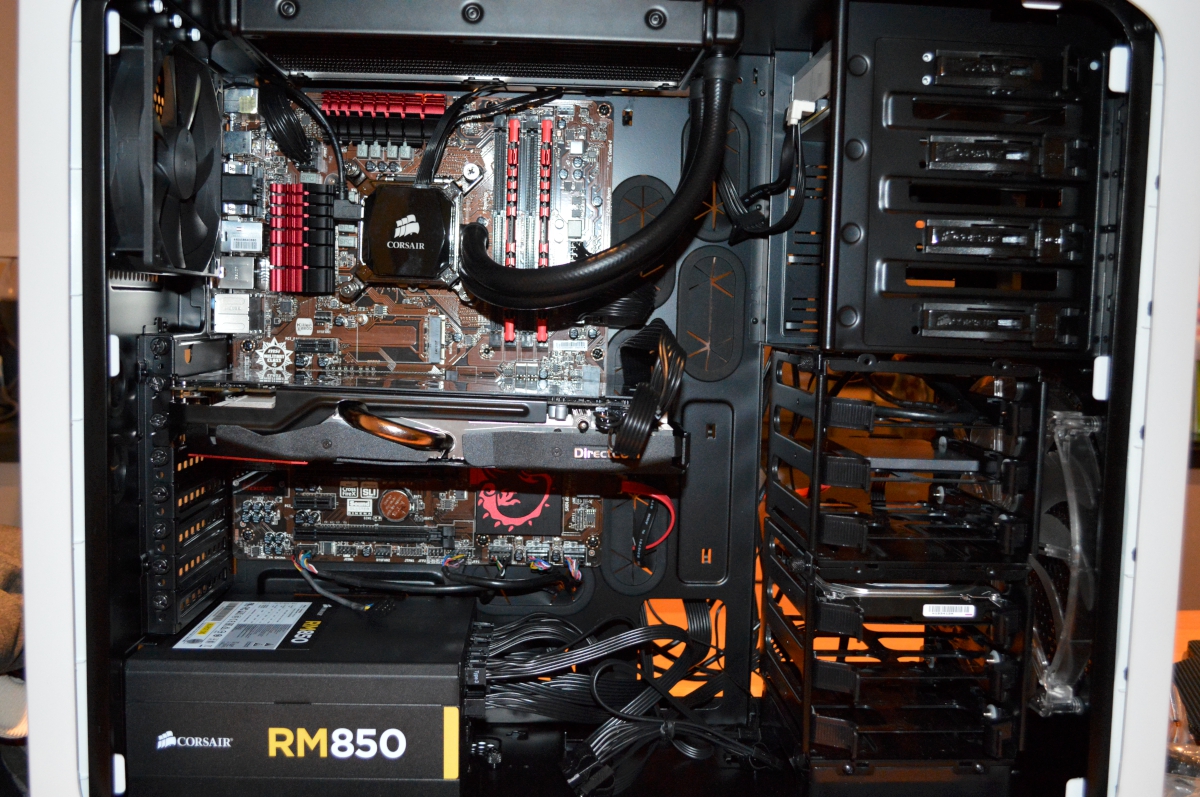 Well, there it is. All plugged in and ready to rock. Although it was a pain in the arse and took much longer than I anticipated; I do enjoy the OCD feeling putting it all in in an order I have been planning for a few days and tiding up all the cables (some could be better going off that picture).
The Stormtrooper is alive!
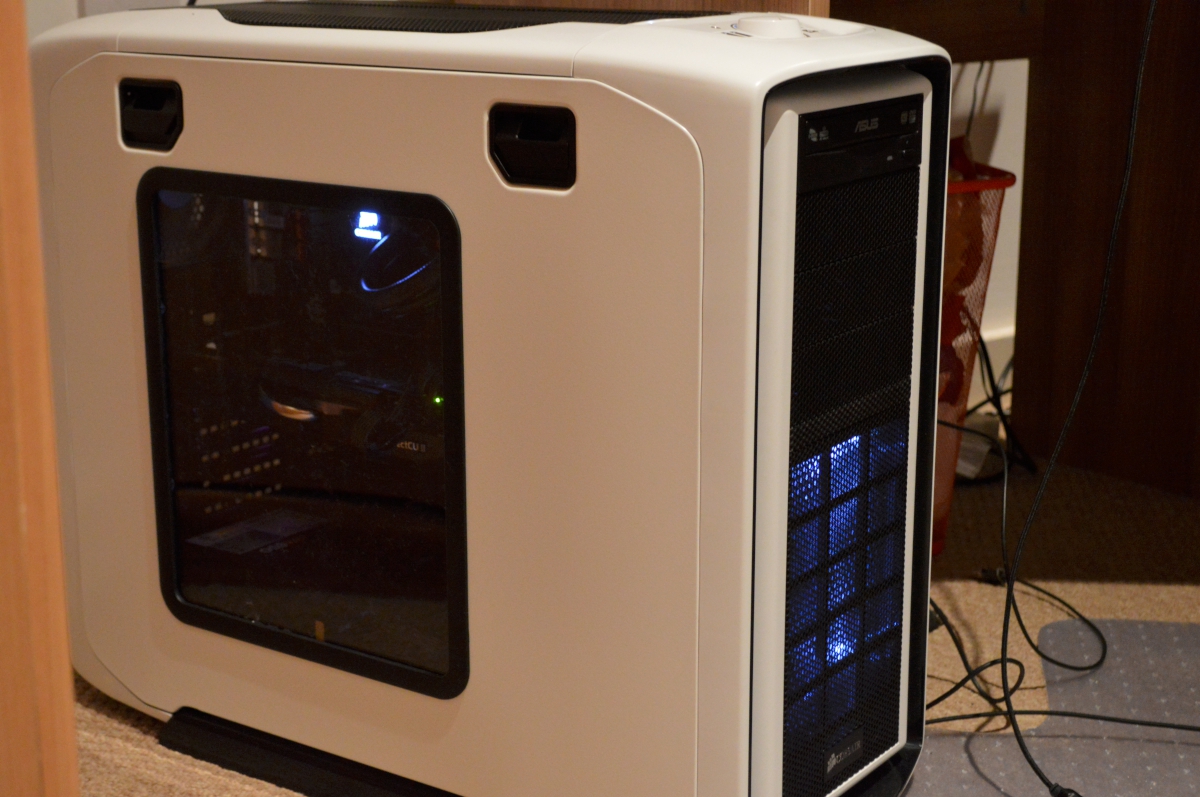
It’s nerve-racking pushing the power button for the first time. One wrong move while building the PC can spell disaster for the components. The biggest worry was that the CPU cooler wasn’t on the CPU correctly and it wouldn’t be cooling properly causing it to burn out. Thankfully after turning it on and looking at the temperature readings everything was super cool.
 There are still a few things I want to get that will complete the build such as more efficient and silent fans for the radiator and some white LED strip lights to properly light the case up. These are some improvements that will come in the near future once I have got some larger upgrades.
The larger upgrades include a mechanical keyboard and a second full HD monitor. But for now, I’m a happy boy with my new toy.